Use in the Classroom
Applying Animaker as a tool supporting the classes is very useful if HE teachers aims to increase the student’s creativity and show the different ways of presenting information. It might be a good idea to introduce Animaker as a solution offering innovative visualisation approach and features allowing to prepare animations attracting people and better focusing the attention of the audience at the topic presented. The animation made in Animaker can refer to the different aspects of conducted classes. It can present the results of conducted projects or progress of realised tasks, new/modernised products designed and/or developed by students, and new kind of services or business concepts.
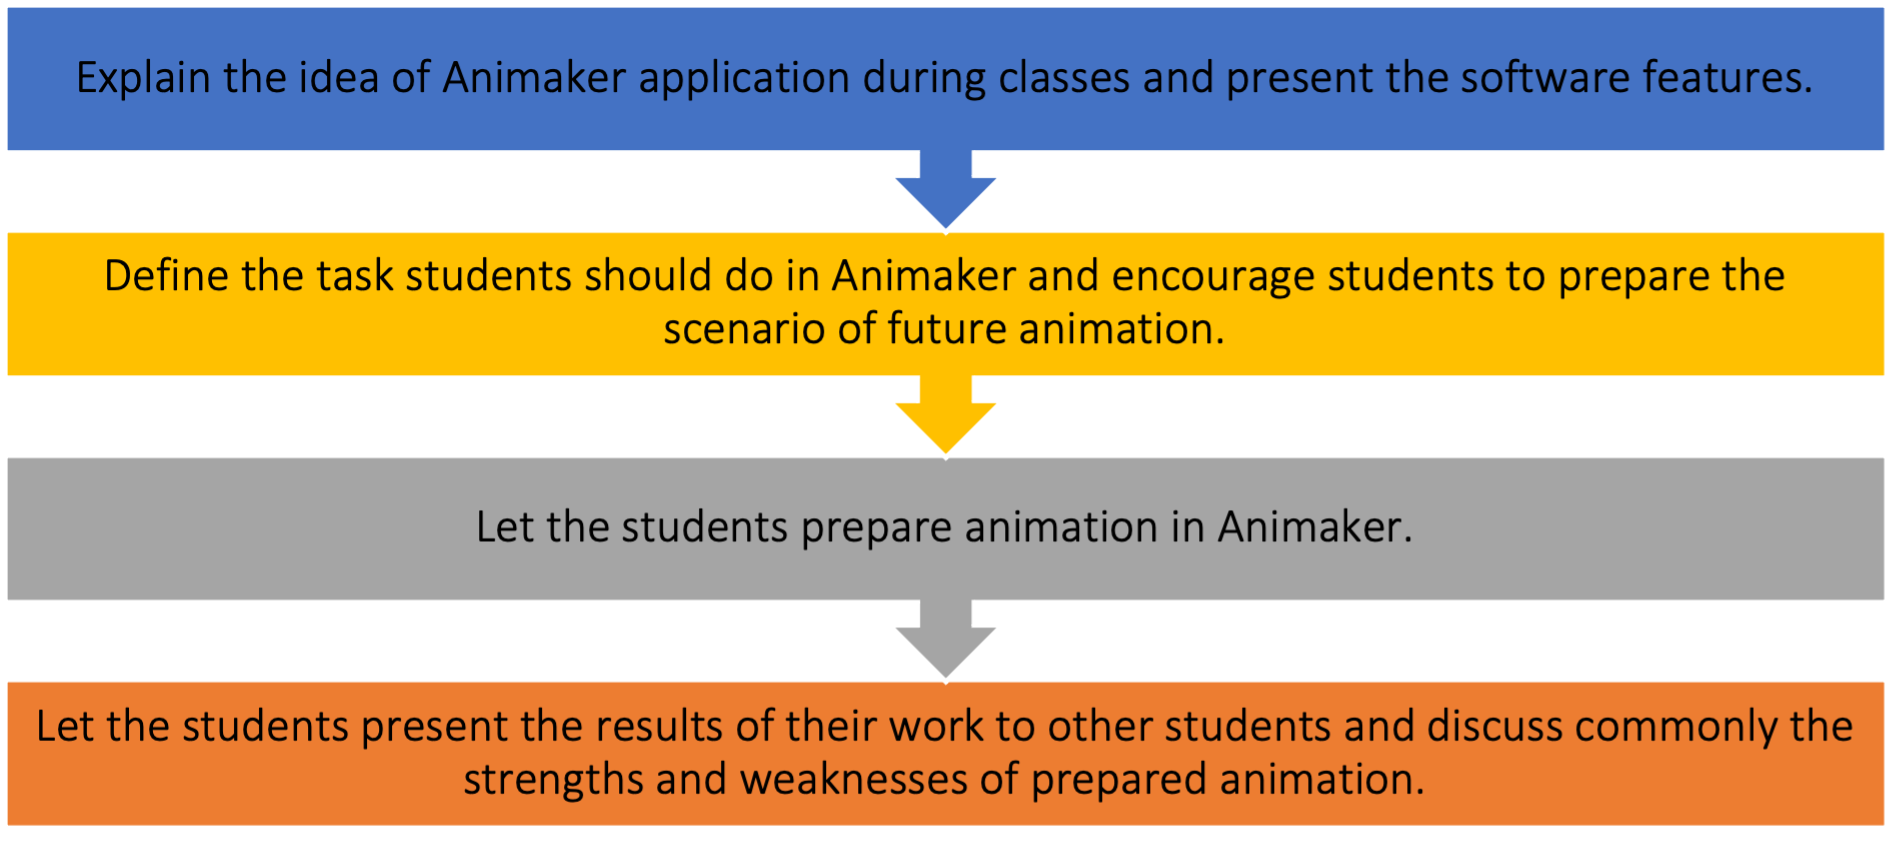
The general idea of implementing Animaker by HE teacher in the classroom is presented on Figure 25. The process should start from describing the aim of the tool and explaining the general premises for the use of the tool during classes. This should be supported by expressing the offered options. HE teachers should arrange the topic to offers the students possibility to apply Animaker. Students should design scenario of animation as a basis of future work. The scenario should consider not only the concept of videos developed or being developed, but also given constraints (i.e., time constraints). After preparing the plan students should create animation in Animaker. The results of students’ work should be presented and discussed with the HE teacher and other students.
-
Describe the Purpose/Problem Definition
- General Overview: Students should understand the idea of implementing the tool during classes and become familiar with the tool. HE teacher should presents how to log on to the tool, what are the main facilities available and how to use them in practise.
-
Classroom Activity:
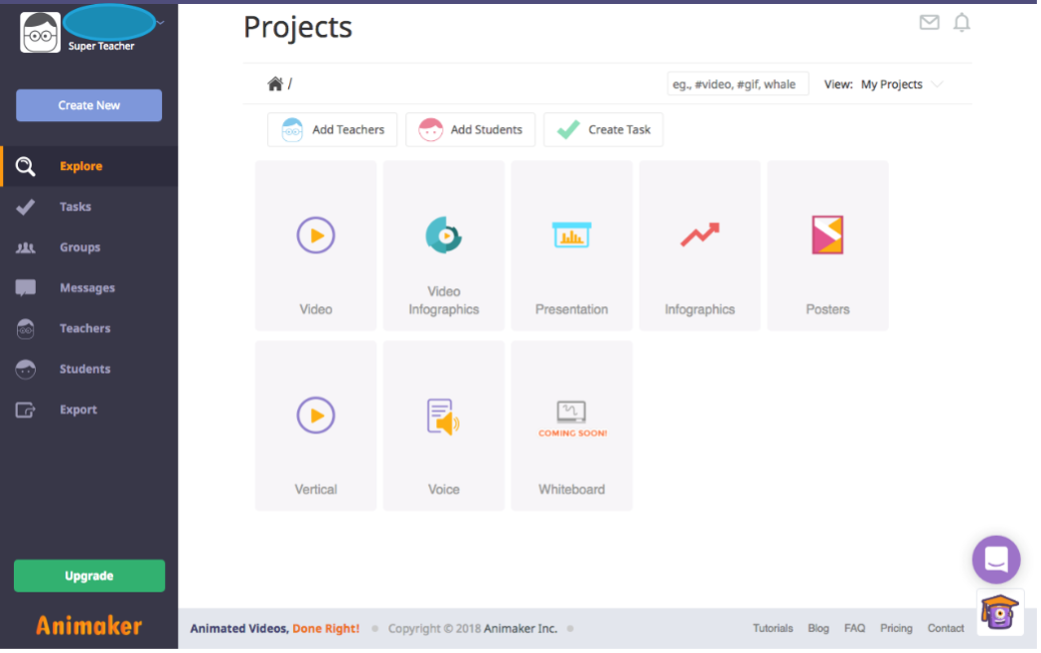
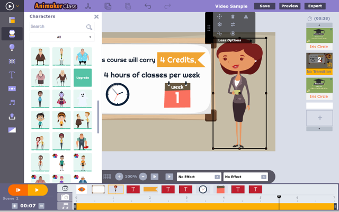
HE teacher should present Animaker facilities to students. He/she logs to Animaker’s online account available from www.animaker.com and provide the presentation of the tool. The screens of Animaker interface are presented on Figure 26. HE teachers must include the created animations to show different ideas for preparing videos and underline the used effects and their influence to support visualisation. Additionally, the way to create own animation should be discussed, including the access and utilisation of video assets library resources.
Students assist the teacher using their computers. They set up an account on the Animaker website and try to use the functions described by the teacher to create some visualisation effects. The activities dedicated to explaining how to start working with Animaker should take around 20 minutes.
-
Implement the Tool
- General Overview: Once the students are acquainted with Animaker app they should start working on their own animation. The task posted by the HE teacher should be developed in Animaker. HE teacher indicates the role of the scenario for the purpose of creating the animation.
-
Classroom Activity:
HE teacher should define the task and engage student to prepare animation in Animaker to develop the given task. Teacher should also explain that the animation should not be accidental but rather should tell a story to convince the audience about its mission and relevance. While preparing the presentation students should consider some issues like:
- potential audience of prepared visualisation (to whom the animation is intended),
- length of visualisation,
- needed resources (graphics, backgrounds, music effects, etc.) coming from existing Animaker library or own resources,
- the plan, how to present the materials (storyboard describing the next scenes).
The idea of this step is to focus on preparation of all material, which will be helpful and let them to provide the future animation. The activities in this step should be completed with the concept of visualisation not shorter than 30 seconds and no longer than 1.5 minutes. Each student should work individually about 20 minutes to be ready to start the animation process.
-
Collect Data after Tool Implementation
- General Overview: Students should prepare the animation on the basis of elaborated scenario and gathered resources.
- Classroom Activity: Each student should prepare animation in Animaker taking into account the time constraints (0,30 – 1,30 min). HE teacher should assist students and support them in technical issues. Students should prepare the animation referring to a given task within 25 minutes. The elaborated video should be ready to be shown to other students and the teacher.
-
Analyse the Data and Reflect on the Outcome
- General Overview: After working individually on animation, the result is presented to the audience. Students and teacher should review the animation and shortly discuss its strengths and weaknesses.
-
Classroom Activity:
Students should present their animations. Each presentation should be finished by short discussion considering:
- whether the topic was clearly presented?
- was the animation easy to understand?
- what attracted the most attention from the students?
- which animation effects fits best to strengthen the message?
The activity is finished after all students’ presentations and indicating general guidelines referring to positive effects of animation, elements might disturb given presentations and those having positive impact. Students and teacher should commonly propose and analyse the favourable and unfavourable visualisation effects. The discussion on individual animations and the summary guidelines should be completed within 25 minutes.